Pressure Treated Wood Resurfacing: Strip, Sand, and Restain Timeline for Ohio Decks
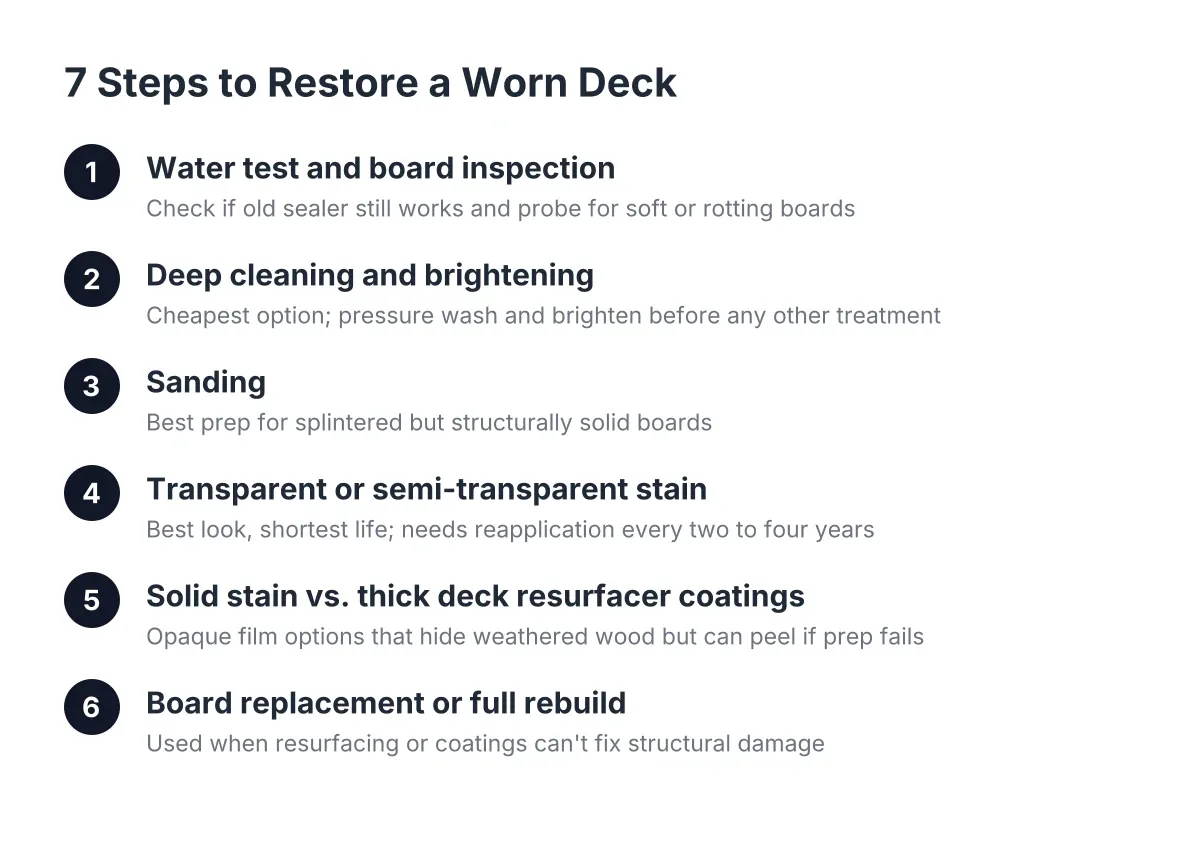
If your deck's boards look gray, flaky, or splintered but the frame underneath still feels solid, pressure treated wood resurfacing is usually the right call, not a full rebuild. This guide walks through the whole process of how to strip, sand, restain, and finish your deck, step by step: stripping the old finish, sanding, repairing damaged boards, and restaining, with a timeline that accounts for Cincinnati's freeze-thaw winters and humid summers. It is written for people doing the work, or hiring it out and wanting to know what a proper job looks like. Landlords with a rental deck that just failed inspection will find the repair-versus-replace calls especially useful.
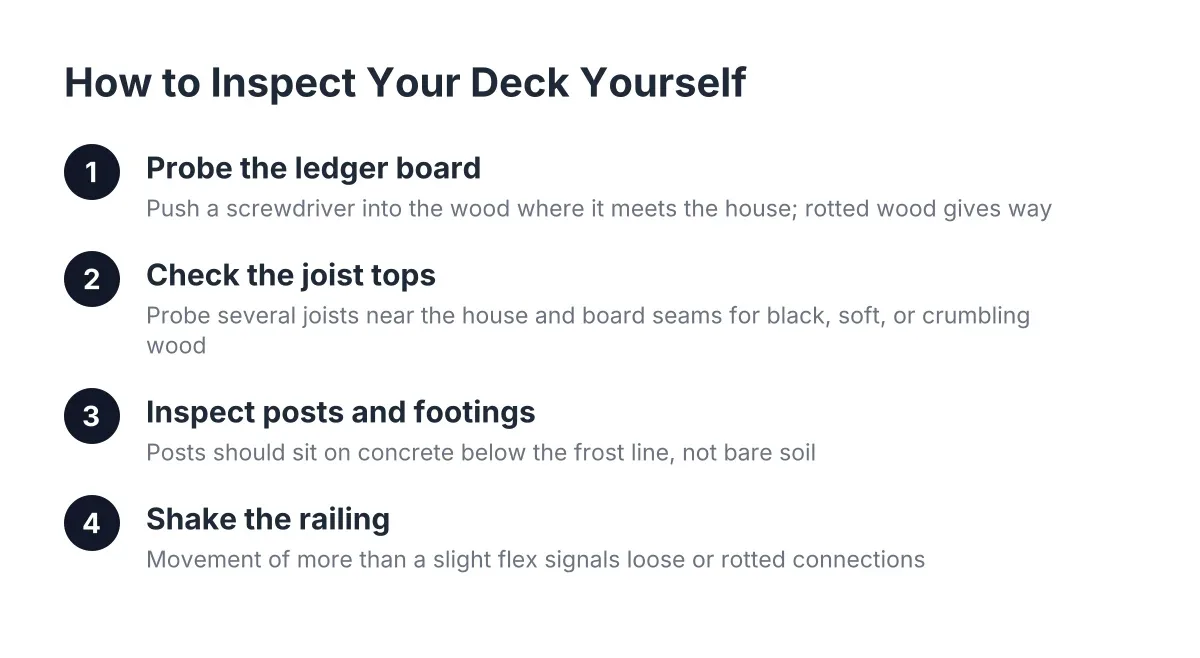
One quick check before you start. Resurfacing only makes sense when the structure is sound. Probe the posts at grade, the ledger where the deck meets the house, and a few joists with a screwdriver. If the tip sinks in easily or the wood crumbles, you are past resurfacing and into rebuilding territory, and a deck contractor should look at it before anyone spends a weekend sanding. According to the North American Deck & Railing Association, about 30 million decks in the United States are beyond their useful life and need repair or replacement, so this check is not paranoia. It is step zero.
Assuming the frame passes, here is the process.
Step 1: Pick a Weather Window That Works in Ohio
Timing matters more than most homeowners expect. Every step of pressure treated wood resurfacing that involves water, and most of them do, needs dry weather afterward so the boards can dry before stain goes on. Wet wood will not accept stain evenly, and in greater Cincinnati's humidity, drying takes longer than the label suggests.
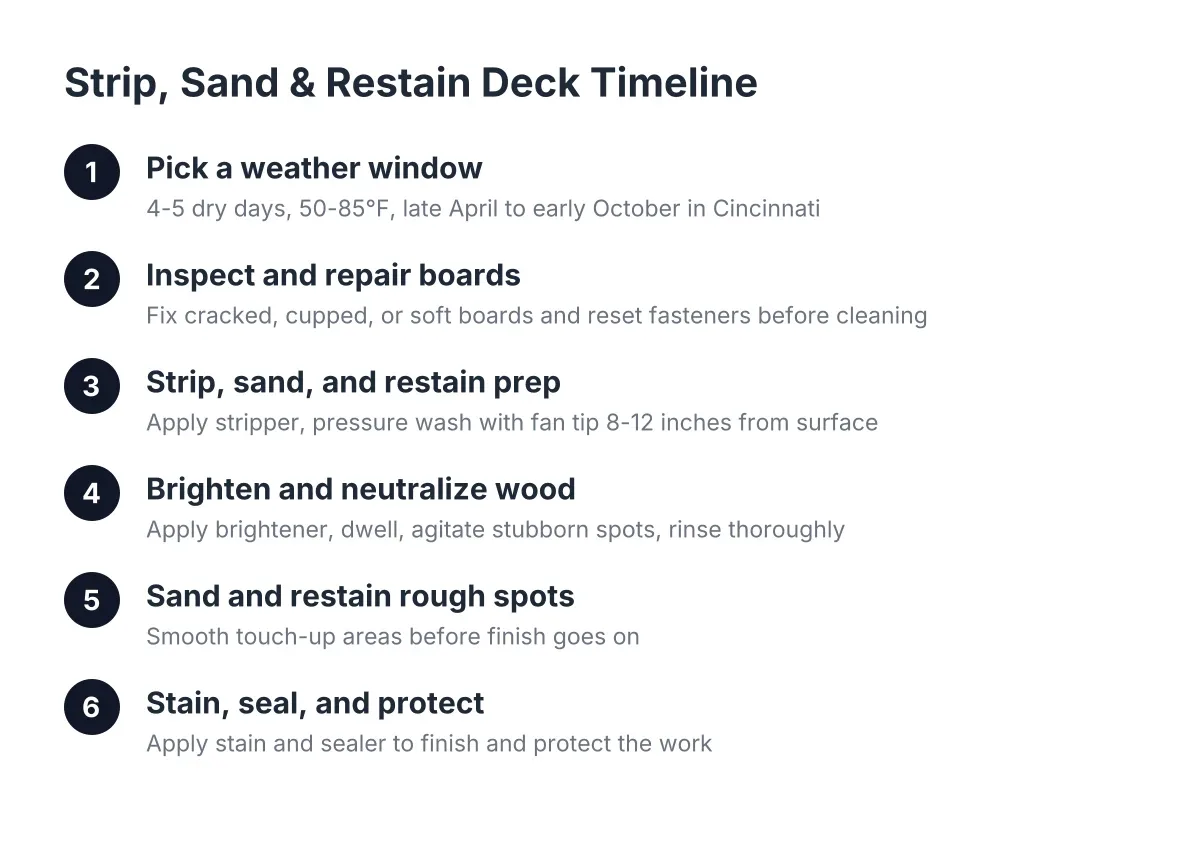
Plan for a stretch of at least four to five dry days with temperatures between about 50 and 85 degrees. In practice, that means late April through early October for most Cincinnati projects. Avoid staining in direct midday sun in July; the stain flashes off before it penetrates. A typical schedule looks like this:
- Day 1: Inspect, repair boards, and reset fasteners
- Day 2: Strip the old finish and wash the deck
- Day 3: Apply brightener, rinse, and let the deck start drying
- Days 3 to 5: Dry time (48 hours minimum, longer after rain or in humid weeks)
- Day 5 or 6: Sand touch-up spots and apply stain
For a landlord planning around tenant turnover, that means blocking roughly a week per property, not a weekend.
Step 2: Inspect Every Board and Make Repairs First
Do repairs before you clean, not after. Fixes are easier on a dry, dirty deck than on one you just washed, and a replacement board can weather in slightly before stain evens everything out.
Walk the deck and flag boards that are cracked through, cupped past flat, or soft when you press a screwdriver into them. Old boards carry years of fading, checking, and slow deterioration that make them weaker than they look, so do not try to flip and reuse a bad board. Pressure treated wood repair breaks into three moves: pull the old board, check and rehab the exposed joist, and install the new one.
While the joist is exposed, look at its top edge. If it shows early rot, you can sister a new section alongside it. Professional deck builders often add waterproofing tape over joist tops as an extra moisture barrier before laying new boards; according to TimberTech, this is a standard moisture-mitigation step even though treated lumber resists rot on its own. Two more details that matter in treated lumber:
- Seal every fresh cut with an end-cut preservative. According to the American Wood Protection Association, any cut or drilled hole in pressure-treated lumber should be field-treated to protect the exposed untreated core.
- Use hot-dip galvanized or stainless steel fasteners. According to the American Galvanizers Association, the copper-based treatment chemicals corrode ordinary screws and nails.
For boards with a rotted spot, a gouge, or a loose knot that do not justify full replacement, a two-part product like Bondo wood filler works well. Pack it in, let it cure, and sand it flush. Reset any popped nails, or better, replace them with deck screws.
Step 3: Strip, Sand, and Restain to Prepare the Deck Surface
Old stain or deck paint has to come off before new stain can penetrate. On a deck where the finish has failed across large areas, chemical stripping plus a pressure washer is the practical route; hand-sanding an entire 300 square foot deck is a multi-day grind nobody enjoys.
Apply a deck stain stripper, work it into the boards with a stiff broom, and let it dwell per the label. Do not let it dry in the sun. Dried stripper can leave dark blotches in the wood, so keep it misted until you wash. Then pressure wash it off with a fan tip at moderate pressure, holding the wand 8 to 12 inches off the surface and moving with the grain. Too much pressure or lingering in one spot will fur the wood and create more sanding later. This process removes all the old coating and raises the grain.
One honest caveat: if your deck was coated with solid deck paint or a liquid rubber polyurethane deck coating rather than a penetrating stain, stripping gets harder and messier. Thick film coatings sometimes will not release fully, and at that point it is worth having a professional assess whether resurfacing with new boards beats fighting the old coating.
Step 4: Brighten and Neutralize the Wood
Stripping leaves the wood clean but darkened and chemically alkaline, which interferes with stain adhesion. An all-in-one wood prep and brightener fixes both. It cleans residue, lifts rust marks around old fasteners, and restores a fresher tone to weathered gray boards. This is the step that makes pressure treated wood restoration look dramatic; a dingy gray deck comes back to something close to its original color.
Apply the brightener with a pump sprayer, let it work for the labeled dwell time, agitate stubborn spots with the broom, and rinse thoroughly. Then stop. The deck now needs a minimum of 48 hours of dry weather, and in a humid Cincinnati August, give it 72. Test readiness by sprinkling water on a board: if it beads, wait; if it soaks in within a minute or two, you are ready.
Step 5: Sand and Restain Rough Spots Properly
Can you refinish pressure treated wood with a sander? Yes, and after pressure washing you will need to, at least in spots. Washing raises the grain and leaves fuzzy patches that will splinter bare feet and drink stain unevenly. Hit those areas, plus any filler repairs, with 60 to 80 grit on an orbital sander. Do not go finer than about 80 grit on deck boards; polished wood will not absorb stain. When you sand and restain the deck, you ensure the new finish bonds properly.
Is it safe to sand pressure treated wood? It is, with basic precautions. The concern with sanding pressure treated wood is the dust, which carries preservative chemicals. Wear a dust mask or respirator, sand outdoors, and sweep or vacuum the dust rather than blowing it around. Never burn treated wood scraps or sanding debris.
Step 6: Stain and Seal, Then Protect the Work
Choose a penetrating semi-transparent or semi-solid stain rated for pressure-treated lumber. Penetrating stains outperform film-forming coatings through Ohio freeze-thaw cycles because there is no film to crack when boards expand and contract. Skip deck paint on horizontal boards; it peels, and stripping it next time is the hard job you just avoided.
Apply thin coats with a pad or brush, working two or three boards at a time end to end so lap marks do not show. Back-brush any puddles. Two thin coats beat one heavy coat that sits on the surface and stays tacky. Then give it 24 to 48 dry hours before furniture goes back and foot traffic resumes.
Suppose a landlord owns a Westwood duplex with a 12 by 16 treated deck that failed a rental inspection for splintered boards and a loose railing. In that scenario, resurfacing might run a few hundred dollars in materials as a DIY project, or an illustrative $1,500 to $3,500 hired out with board replacement and a new deck railing, versus several times that for a full rebuild. As long as the frame is sound, resurfacing is the cost-per-unit winner, and the same stain schedule then protects that investment on a two-to-three-year cycle.
How Long Pressure Treated Wood Resurfacing Takes, Start to Finish
A full resurfacing cycle on a mid-sized Cincinnati deck takes five to seven calendar days, with about two to three of those being actual work days. Repairs and stripping fill the first two days, drying takes two to three more, and sanding plus staining fills the last. Weather is the wildcard; one surprise thunderstorm resets the drying clock.
Budget the work for late spring or early fall when Cincinnati humidity is lower and the sun is gentler. Then expect to re-stain every two to three years. A wood deck maintained on that cycle holds its value well; per the Remodeling Magazine / Zonda 2025 Cost vs. Value Report, a wood deck recoups about 95% of its cost at resale nationally, which is a strong argument for keeping the one you have healthy instead of letting it slide toward replacement.
If the boards are gone but the bones are good, this process buys you years. If the bones are questionable, get a deck builder's eyes on it first. Sanding and stain fix a surface; they cannot fix a frame.
If you need deck building and installation, Cincinnati Deck Pros can help.
Related guide: deck resurfacing and rebuilding — Complete Guide
Prefer to talk it through? Call (513) 613-3364 — a quick call is usually the fastest way to get a straight answer for your situation.